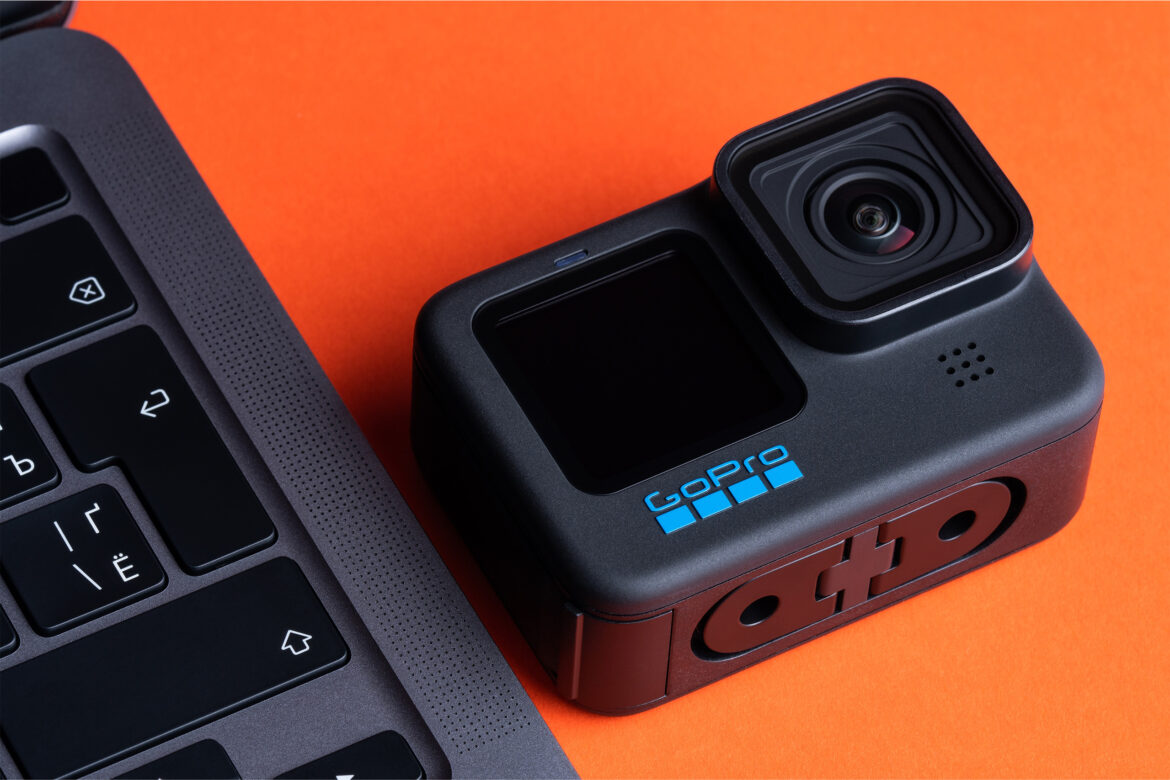
GoPro cameras are designed to capture high-quality video footage and images in a variety of scenarios. Whether you’re an adrenaline junkie looking to capture your extreme adventures or a travel enthusiast hoping to document your journeys, choosing the right settings for your GoPro can make all the difference.
In this blog, we’ll take a look at some of the key factors to consider when choosing GoPro settings for different scenarios.
- Resolution and frame rate
The resolution and frame rate you choose for your GoPro footage will depend largely on the type of content you’re trying to capture. If you’re shooting action-packed footage of extreme sports, for example, you’ll want to use a high frame rate (such as 60 or 120 fps) to ensure smooth, clear footage. On the other hand, if you’re shooting a scenic landscape or a slow-moving subject, a lower frame rate (such as 24 or 30 fps) may be sufficient.
In terms of resolution, higher resolutions (such as 4K) will give you more detail and clarity in your footage, but will also take up more storage space on your GoPro’s memory card. If storage space is a concern, you may want to opt for a lower resolution (such as 1080p).
- Field of view
The field of view (FOV) refers to the angle of your GoPro lens and how much of the scene it captures. A wider FOV will capture more of the scene, while a narrower FOV will zoom in and focus on a smaller area.
Again, the type of content you’re capturing will play a big role in determining the best FOV for your needs. If you’re capturing an expansive landscape or trying to showcase the full extent of a scene, a wider FOV (such as SuperView) may be the best choice. On the other hand, if you’re trying to capture a specific subject or action, a narrower FOV (such as Linear or Narrow) may be more appropriate.
- ProTune settings
ProTune is a set of advanced settings that allows you to have more control over your GoPro’s image quality. With ProTune, you can adjust settings such as white balance, ISO, and color profile, allowing you to fine-tune your footage to your liking.
If you’re a more experienced videographer or photographer, ProTune can be a powerful tool for capturing professional-quality footage. However, if you’re new to using a GoPro or simply want to capture casual footage, you may not need to worry about ProTune settings.
- Lighting conditions
The lighting conditions in your environment will also play a big role in determining the best GoPro settings for your needs. If you’re shooting in bright sunlight, for example, you may need to adjust your exposure settings to avoid overexposed footage. Similarly, if you’re shooting in low-light conditions, you may need to use a higher ISO setting to ensure your footage is bright enough.
It’s also worth noting that different GoPro models may perform differently in certain lighting conditions. For example, newer GoPro models tend to perform better in low-light conditions than older models.
- Mounting and stabilization
Finally, it’s important to consider how your GoPro will be mounted or stabilized when choosing your settings. If you’re using a handheld mount, for example, you may need to use a higher frame rate or a narrower FOV to reduce shakiness and ensure smoother footage. Similarly, if you’re using a drone or other aerial mount, you may need to adjust your settings to account for the speed and movement of the mount.
- Audio settings
The built-in microphone on GoPro cameras can capture decent audio, but it’s not always the best option. In noisy environments, the audio can become muffled and unclear. In quiet environments, the audio can pick up unwanted background noise.
If audio quality is important to you, consider using an external microphone or the GoPro’s ProTune audio setting. With ProTune, you can adjust the microphone sensitivity, allowing you to capture clearer audio in different scenarios.
- Time-lapse settings
GoPro cameras are known for their time-lapse capabilities, which allow you to capture stunning footage of sunsets, starry skies, and other slow-moving subjects. To create a time-lapse, you’ll need to adjust your GoPro settings to take a photo at a set interval (such as every 5 seconds) and then combine the photos into a video.
When choosing your time-lapse settings, consider the length of time you’ll be capturing footage, the interval between shots, and the resolution and frame rate of your photos. Keep in mind that longer time-lapses will require more storage space on your GoPro’s memory card.
- Editing capabilities
Finally, consider your editing capabilities when choosing your GoPro settings. If you plan to edit your footage in post-production, you may want to shoot at a higher resolution and frame rate to give you more flexibility in the editing process. On the other hand, if you don’t plan to edit your footage extensively, you may be able to get by with lower settings.


