In today’s digital age, food photography has become a form of art. It’s not just about showcasing a delicious meal but also about crafting visually appealing images that tell a story. With social media platforms like Instagram, where food photos are a sensation, the demand for Instagram-worthy food photography has surged. Whether you’re a professional food photographer or just an enthusiast looking to improve your culinary photography skills, this guide will provide you with essential tips and techniques to make your dishes truly shine on Instagram.
- Lighting Is Everything
The foundation of great food photography is excellent lighting. Natural light is your best friend when it comes to capturing the vibrant colors and textures of your dishes. Here are some tips:

Use diffused natural light: Shoot near a window with sheer curtains or during the golden hours (early morning or late afternoon) for soft, flattering light.
Avoid harsh shadows: Direct sunlight can create harsh shadows, so diffuse the light by using a white sheet or a reflector to bounce light onto the dish.
Experiment with angles: Try different angles (e.g., 45-degree angle, overhead) to see how the light interacts with your food.
- Composition Matters
Composition plays a crucial role in food photography. It helps tell a story and draws the viewer’s eye to the subject. Consider these composition tips:
Rule of thirds: Divide your frame into a 3×3 grid and place the main dish or focal point along the gridlines or at the intersections.
Leading lines: Use props or elements like utensils or tableware to guide the viewer’s eye toward the dish.
Negative space: Don’t clutter the frame; leave some empty space around your subject to create a sense of balance and simplicity.
- Choose the Right Props
Props can enhance your food photos by adding context, texture, and style. Here’s how to choose the right props:
Consider the theme: Select props that align with the mood and style you want to convey, whether it’s rustic, elegant, or minimalist.
Use complementary colors: Choose props and backgrounds that complement the colors of your dish and make it stand out.
Texture and contrast: Incorporate textures and contrasting elements like wood, linen, or ceramics to add visual interest.
- Pay Attention to Food Styling
Food styling is about arranging the dish to look its best. Here are some food styling tips:
Freshness: Use fresh ingredients and garnishes to make your dish look more appealing.
Stack and layer: Create height and depth by stacking or layering elements of the dish.
Garnishes: Sprinkle herbs, spices, or seeds to add a pop of color and texture.
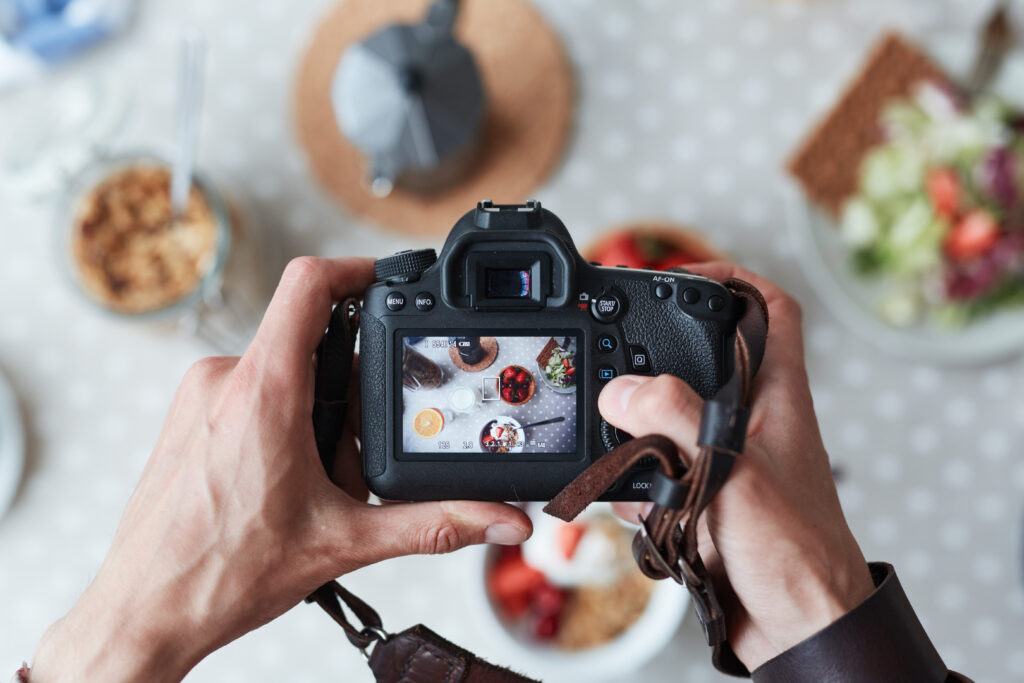
- Use the Right Equipment
You don’t need a fancy camera to take great food photos. A smartphone with a good camera can work wonders. However, if you’re serious about food photography, investing in a DSLR or mirrorless camera can provide more control. Regardless of your equipment, keep these tips in mind:
Clean your lens: Smudges or dust on your lens can affect image quality.
Shoot in RAW (if possible): RAW files offer more flexibility for post-processing.
Experiment with different lenses: Try a macro lens for close-up shots or a prime lens for a beautiful bokeh (background blur).
- Master the Art of Depth of Field
Depth of field refers to how much of your photo is in focus. A shallow depth of field, where the subject is sharp, and the background is blurred, is often used in food photography. Achieve this effect with these techniques:
Wide aperture (low f-stop): Use a low f-stop number (e.g., f/2.8 or f/4) to create a shallow depth of field.
Manual focus: Experiment with manual focus to control exactly where the focus lies in your shot.
Use props to add depth: Place items in the foreground or background to create layers and depth.
- Edit with Care
Post-processing can enhance your food photos, but it’s essential to edit with subtlety. Use photo editing software like Adobe Lightroom or smartphone apps like VSCO or Snapseed. Here are some editing tips:
Adjust exposure and contrast: Fine-tune the brightness, contrast, and shadows to make your image pop.
Color correction: Correct any color casts and enhance the vibrancy of food colors.
Cropping and straightening: Crop to remove distractions and straighten your image if needed.
Remove distractions: Use the spot removal tool to eliminate unwanted elements.
- Tell a Story
Great food photos often tell a story or convey an emotion. Think about what you want your audience to feel when they see your photo. Here are some storytelling ideas:
Action shots: Capture the moment when a fork cuts through a cake or when a sauce is drizzled.
Lifestyle shots: Show the dish in its natural setting, like a picnic or family dinner.
Close-ups: Highlight the texture and details of the dish.
- Practice Patience
Food photography takes time and practice. Don’t rush through the process. Experiment, make mistakes, and learn from them. Over time, you’ll develop your style and techniques.
- Engage Your Audience
Finally, remember that Instagram is a social platform. Engage with your audience by responding to comments, asking questions, and sharing behind-the-scenes stories about your culinary creations. Building a community around your food photography can be just as rewarding as capturing that perfect shot.
In conclusion, food photography for Instagram-worthy dishes is a blend of artistry, technical skill, and storytelling. By mastering these tips and techniques, you’ll be well on your way to creating mouthwatering images that captivate your audience and make your culinary creations shine on social media. So, grab your camera or smartphone, plate your masterpiece, and let your creativity flow – your Instagram followers are waiting to be delighted!